The evolution of heating and cooling technologies has made the heat pump a high-performing, eco-friendly, and cost-effective solution for homeowners and commercial property owners alike. This system operates on a simple principle: it captures thermal energy from the air, water, or ground and redistributes it indoors. During summer, the same system reverses its function to provide effective cooling. However, to fully benefit from its performance, it is crucial that a heat pump installation is properly executed. A poorly installed system can significantly reduce efficiency, increase energy costs, and even lead to breakdowns.
A heat pump installation involves several essential steps, from assessing needs and selecting the right location to commissioning and maintenance. Each step must be performed with care to ensure proper operation and optimize energy efficiency. This article guides you through these key stages, highlighting the crucial factors that guarantee a successful and long-lasting installation.
1. Assessing needs and constraints: a key first step
Before any heat pump installation, a thorough analysis of the building’s requirements is necessary. This evaluation is based on several fundamental criteria that determine the type and capacity of the equipment to be installed.
First, the area to be heated or cooled plays a crucial role. The larger the surface, the more powerful the heat pump must be to guarantee even coverage. In addition, the building’s insulation must meet specific standards to enhance the efficiency and precision of a heat pump. A poorly insulated home loses much of its heat in winter and absorbs too much outdoor heat in summer, reducing the device’s efficiency and increasing energy consumption.
Next, the local climate conditions are decisive. In regions with harsh winters, we recommend choosing a heat pump designed to operate at low temperatures. Similarly, a humid climate can affect performance if the outdoor unit is poorly positioned.
Finally, the occupants’ habits also influence the choice of model and features. A household that maintains a constant temperature throughout the day will not have the same needs as one that only heats in the evening.
Once these elements are analyzed, one of our specialists can recommend the ideal heat pump type—whether wall-mounted, central, or split—depending on the home’s technical constraints and your preferences.
2. Choosing the right location: a key performance factor
The placement of the indoor and outdoor units directly impacts performance and durability. A poor location can cause noise issues, system inefficiency, and even material damage.
The outdoor unit must be installed on a stable, elevated base to prevent snow, leaves, or debris from accumulating. It should not be directly exposed to strong winds, which could disrupt operation. Finally, it should not be placed too close to a wall, as this limits airflow.
The indoor unit’s location must allow optimal air distribution. It should be installed high enough and away from obstacles such as large furniture or curtains that could block heat or cool air circulation.
Poor placement can also increase energy consumption by forcing the system to work harder to compensate for uneven heat or cool air distribution. A careful assessment of the environment helps prevent these issues and ensures optimal performance.
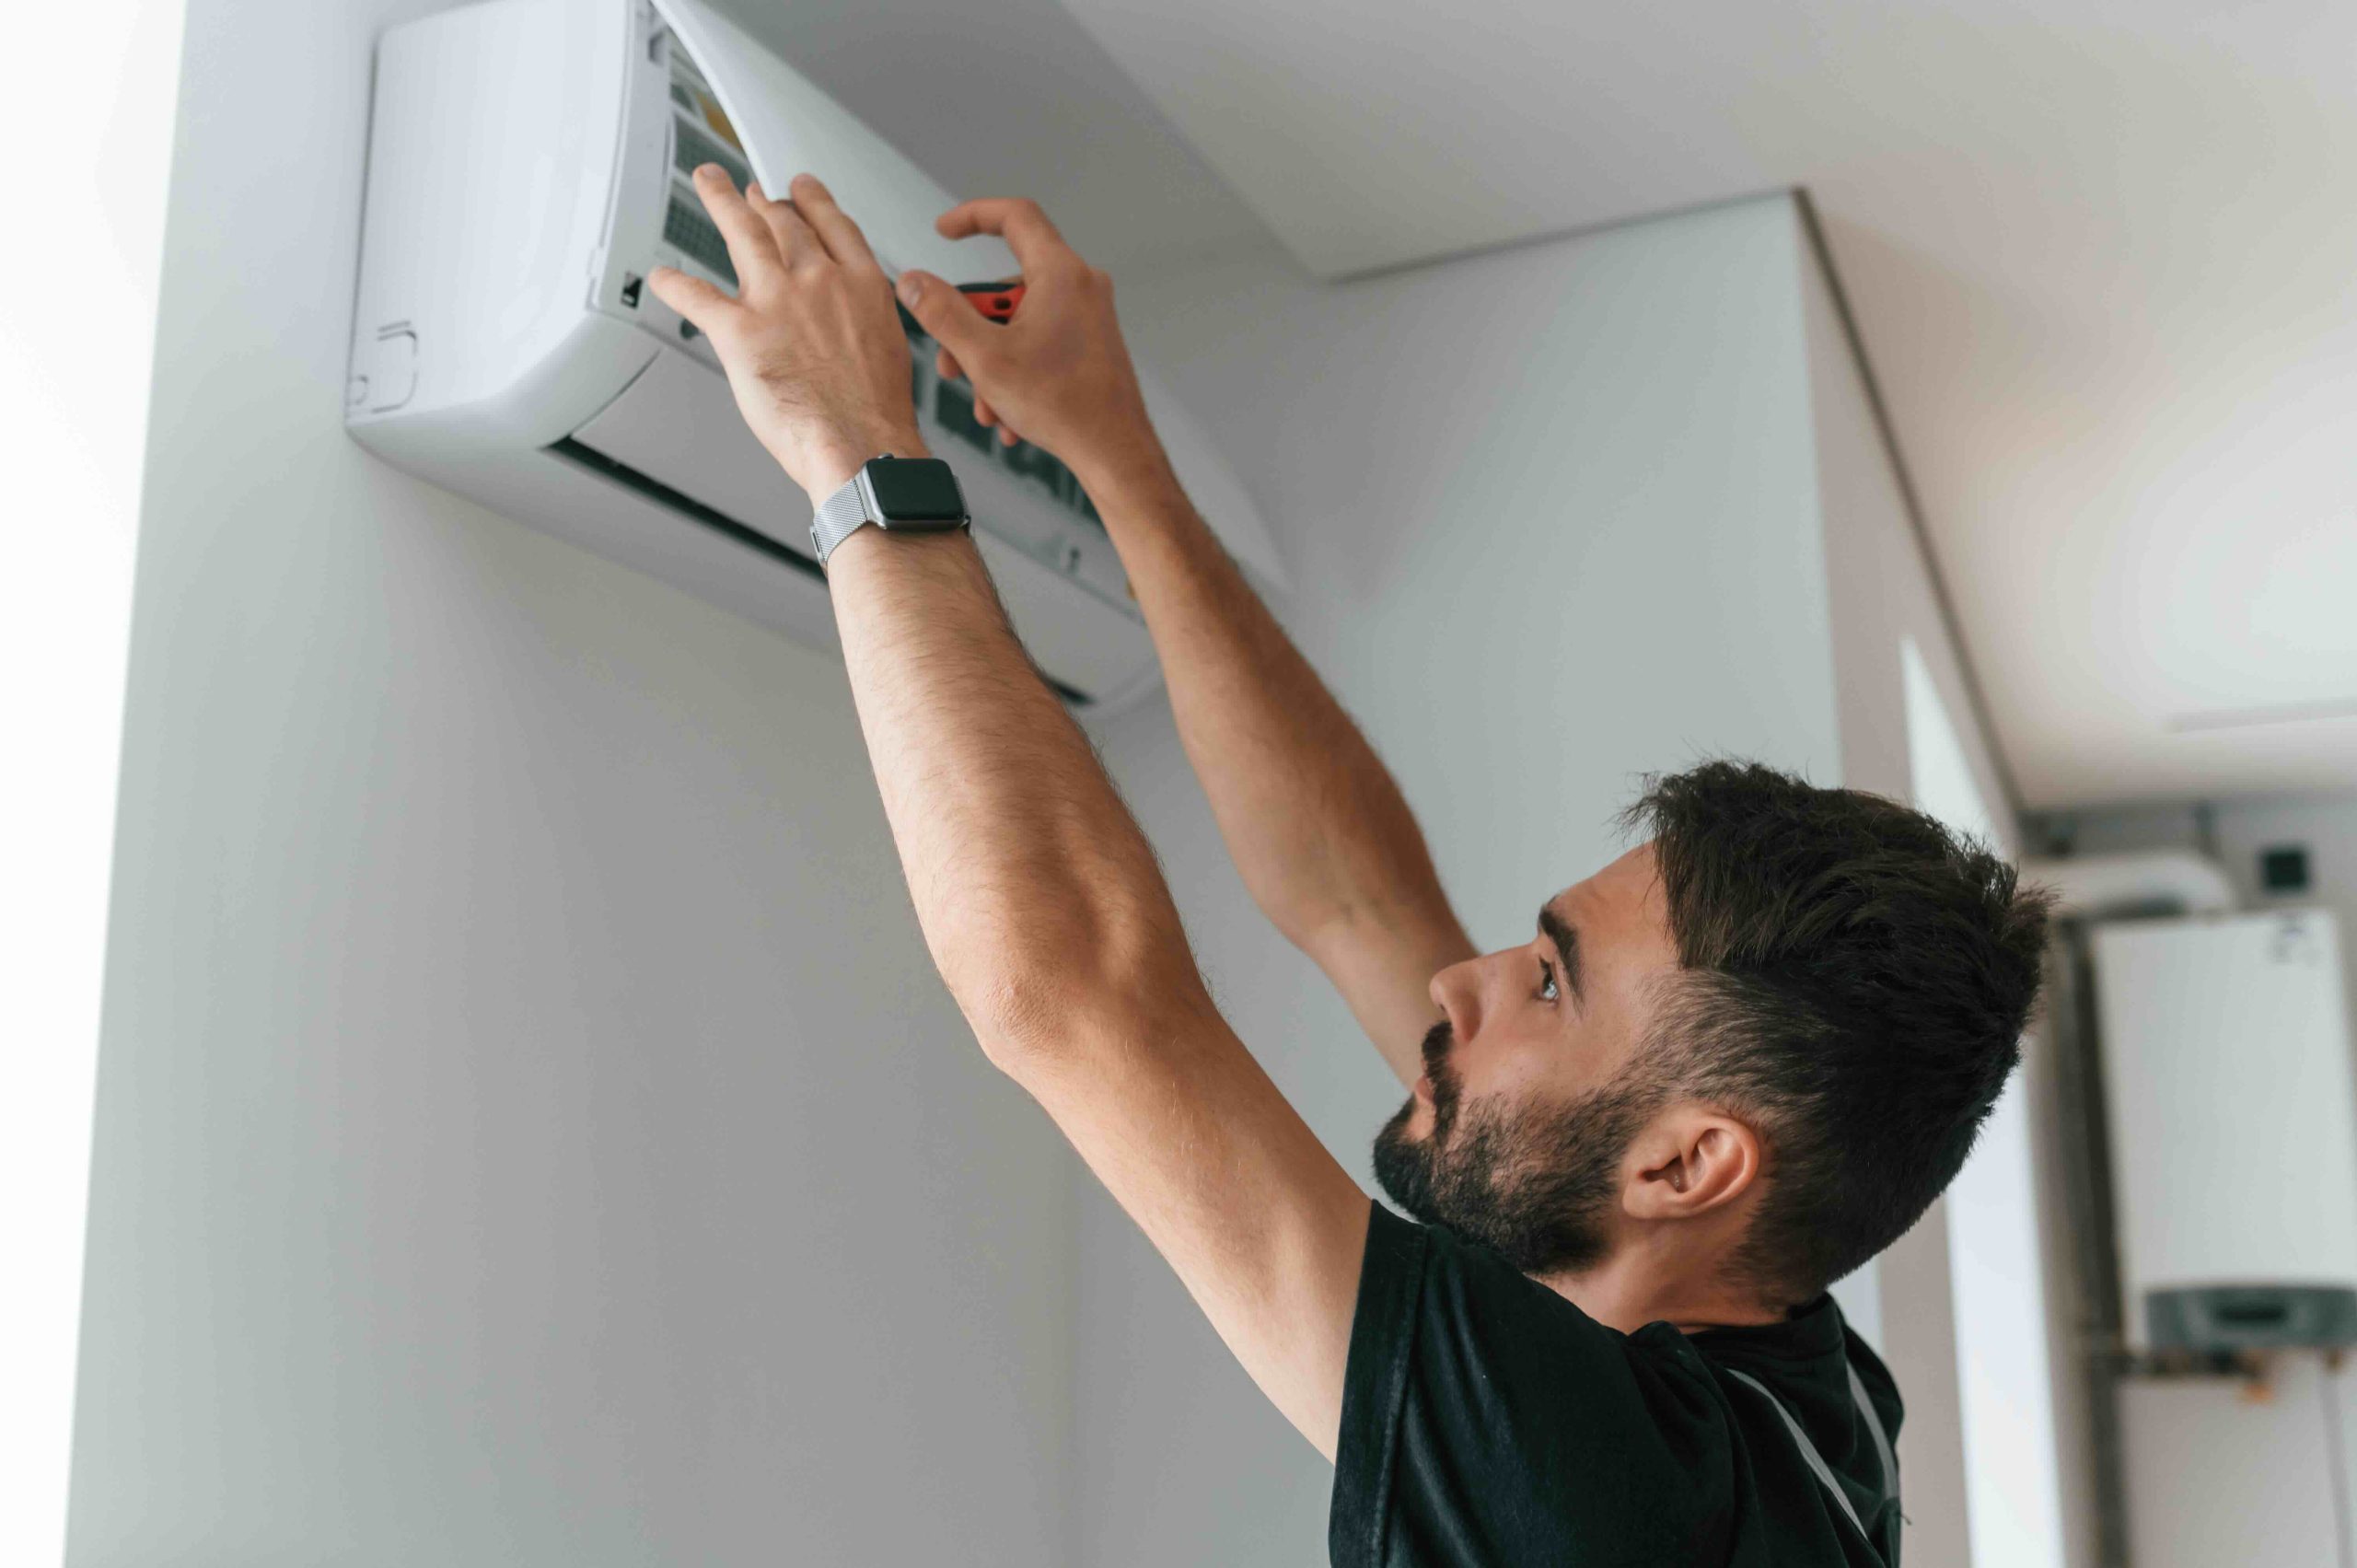
3. Installing the outdoor unit and routing the conduits
Once the location is validated, the outdoor unit must be secured on an anti-vibration base. This is crucial to reduce noise and ensure long-term stability.
The technician then drills a hole through the wall to pass the necessary conduits:
- Refrigerant lines, which transport the fluid responsible for heat transfer.
- A condensate drain line, essential for removing the humidity produced by the system.
- Electrical wiring, ensuring power and communication between the units.
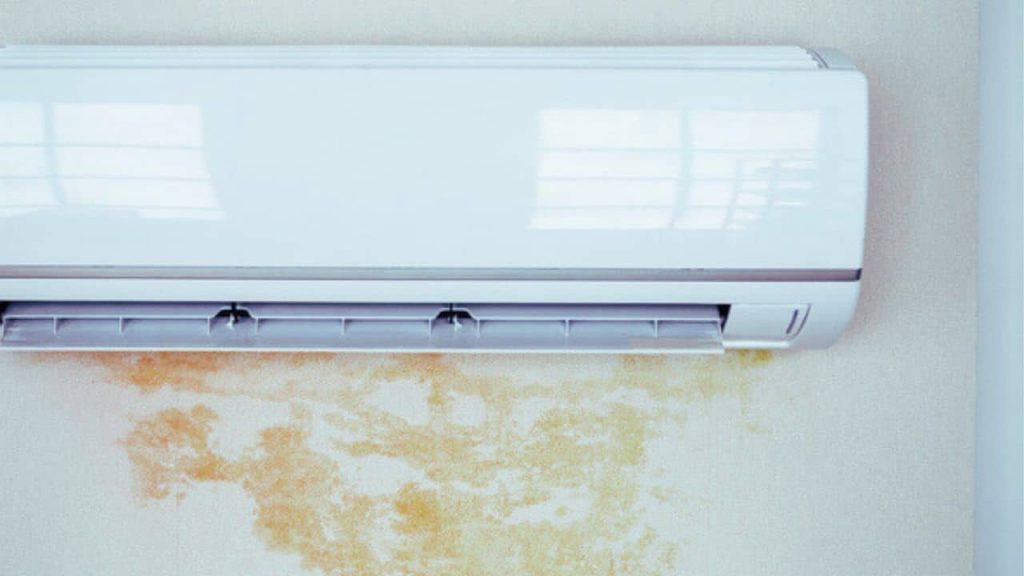
Once these conduits are in place, perfect sealing is required to prevent air or water infiltration—a key factor in maintaining efficiency. A careful inspection ensures there are no leaks and that all connections are properly secured. A lack of tightness can cause major energy losses and affect the system’s operation, potentially leading to problems throughout the home.
4. Insulating and covering the refrigerant lines
One of the most important steps in a heat pump installation is insulating the refrigerant lines. To achieve efficient thermal insulation, the lines must be properly covered to prevent energy loss. Poorly insulated pipes can lead to heat loss in winter and excessive heat absorption in summer, reducing the heat pump’s performance.
In addition, a protective covering is essential to prevent condensation buildup, which can cause mold or wall damage over time. Outdoor conduits should also be protected from UV rays and weather conditions.
Covering the lines also helps prevent mechanical damage or premature wear due to extreme weather. Poor insulation can significantly reduce the system’s efficiency and increase energy consumption. Using high-quality insulating materials and carefully checking their installation ensures long-lasting performance and system durability.
5. Vacuuming and charging the refrigerant circuit
Before commissioning a heat pump, a critical step is to vacuum the refrigerant circuit. This process removes air and moisture from the lines, ensuring optimal refrigerant flow. Residual moisture can cause corrosion and ice formation, reducing the unit’s lifespan and efficiency. A vacuum pump is used to remove all air and create the correct pressure before adding the refrigerant.
The refrigerant is then injected into the system according to the manufacturer’s recommendations and specifications. An incorrect charge—whether too low or too high—can harm the heat pump’s performance. Once filled, a thorough check for leaks is carried out using electronic leak detectors or nitrogen pressure tests to ensure the system is completely sealed. Without this verification, an undetected leak can reduce efficiency and harm the environment.
6. Testing and commissioning the heat pump
Once all connections are made and the refrigerant circuit is charged, the heat pump is started up to ensure proper operation. This stage includes a series of tests to verify the unit’s performance in heating and cooling modes. The technician adjusts settings based on the property’s needs and the type of heat pump installed.
The first tests involve checking the unit’s startup and measuring refrigerant pressures to confirm optimal operation. Then, airflow and discharge temperature are checked to ensure even heat or cool air distribution throughout the space. Poor airflow may indicate an installation issue or incorrect unit placement.
Finally, an energy consumption test helps assess the system’s efficiency. If overconsumption is detected, adjustments can be made to improve performance. This commissioning phase is essential to ensure the heat pump installation meets expectations for performance and energy savings.
7. Maintenance and servicing: ensuring long-term performance
A successful heat pump installation is not enough to guarantee long-term performance. Regular maintenance is essential to preserve efficiency and prevent early failures. Several tasks must be performed periodically to ensure proper operation.
Cleaning the indoor unit filters is a key operation. These filters collect dust and allergens, which can reduce indoor air quality and device efficiency. Monthly cleaning improves airflow and extends the system’s lifespan. The outdoor unit must also be inspected regularly to remove leaves, snow, or debris that may obstruct airflow.
Maintaining the refrigerant circuit is equally crucial. An annual refrigerant level check ensures there are no leaks that could affect performance. A qualified professional can also inspect electrical connections and internal components to prevent breakdowns. Additionally, a full professional maintenance service once a year ensures all components operate properly and optimizes energy consumption.
8. Common mistakes to avoid during a heat pump installation
Even with a precise installation, common mistakes can impact performance and durability. One of the most frequent is incorrect sizing. An undersized heat pump won’t properly heat or cool the space, while an oversized one will cycle too quickly, causing premature wear and increased energy use.
Another critical mistake involves poor insulation of the refrigerant lines. Insufficient insulation leads to thermal losses that reduce overall efficiency. It is also common for the outdoor unit to be poorly positioned—exposed to strong winds or placed too close to a wall—which restricts airflow and decreases performance.
Finally, neglecting regular maintenance is a frequent error. A heat pump must be inspected and cleaned regularly to avoid dirt and dust buildup, which can lower efficiency and cause costly long-term breakdowns. Regular follow-up ensures optimal performance and prolongs the system’s lifespan.
Heat pump installation: in conclusion
A heat pump installation is a technical process that requires careful planning and precise execution. From assessing needs to commissioning and maintenance, each step plays a vital role in system performance and durability. A proper installation not only maximizes comfort for occupants but also significantly reduces energy consumption.
By choosing the right location, following installation standards, and ensuring regular maintenance, you can fully enjoy the benefits of a heat pump. Whether for heating in winter or cooling in summer, this system represents an energy-efficient solution that combines performance and sustainability.
If you want to ensure an optimal installation and enjoy the best possible performance, do not hesitate to contact us. A well-installed and well-maintained heat pump is a long-term investment that provides comfort and energy savings to its users.